Sprinkler Irrigation System Design: Sizing, Spacing and Layout Basics
2026-08-25
Sprinkler Irrigation System Design: Sizing, Spacing and Layout Basics
Most sprinkler systems fail on paper, not in the field. The classic case is a greenhouse or nursery block where heads are spaced at full throw instead of at overlap. The crop looks fine in June, then dry rings appear mid-season, and the fix means relocating risers. The opposite failure is just as common: a pump sized for average flow instead of peak flow that starves the far zone on every cycle. Both problems trace back to three numbers decided before a single pipe is laid: operating pressure at the head, flow per head, and spacing between heads. Get those three right and the rest of the design, from pipe sizes to valve schedules, falls into place. This guide covers sizing, spacing, and layout in the order a greenhouse or field grower actually meets them, with the common-sense ranges that apply to most installations.
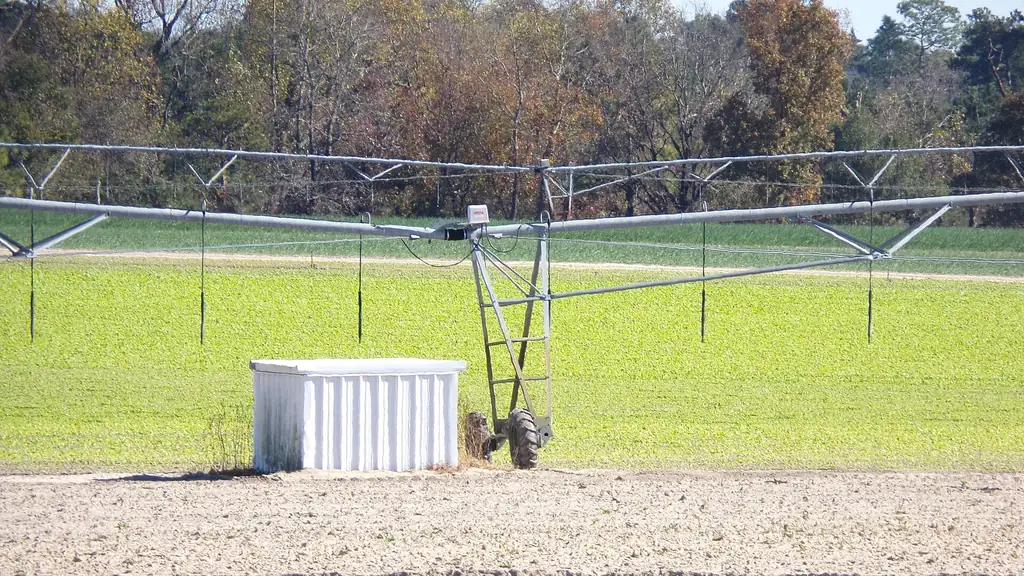
Sizing First: Pressure, Flow, and the Design Point
Every sprinkler is a pressure-to-flow machine. The nozzle converts pressure into a jet, the arm converts part of that jet into rotation, and the combination decides throw distance and droplet size. Sizing therefore starts with the operating window of the sprinkler you plan to use.
For impact sprinklers, the type most common in greenhouses, nurseries, and vegetable blocks, the working band is typically 2.5–5 bar (36–72 psi). Below about 2 bar, the weighted arm stops tripping reliably and coverage collapses from a full circle into a wet ring. Above 5 bar, you gain little throw, produce finer droplets that drift and evaporate, and pay for it in pump energy. Design the system to hold every head inside that band, not just the pump discharge pressure.
Flow follows nozzle size and pressure. A full-size impact sprinkler draws roughly 0.4–1.2 m³/h at working pressure, depending on the nozzle fitted. The figure that drives system design is not the flow of one head but the flow of the largest zone: every head in that zone running at once, plus a 10–20% margin for fittings and future heads.
That peak zone flow decides the pipe and pump. Keep water velocity in mains and laterals around 1–1.5 m/s (3–5 ft/s). Above that, friction losses climb quickly and the far end of a run drops out of the pressure band. When in doubt, go up a pipe size: pipe is cheap, and relaying it after the crop is planted is not.
| Parameter | Typical range | Why it matters |
|---|---|---|
| Operating pressure | 2.5–5 bar (36–72 psi) | Below about 2 bar the arm rotation stalls and coverage becomes rings; above 5 bar droplets get finer and drift, wasting energy |
| Throw / wetting diameter | 12–18 m at working pressure | Sets spacing; in greenhouses use the shorter end so water stays off glazing and walls |
| Flow per head | 0.4–1.2 m³/h depending on nozzle and pressure | Adds up across a zone; size pipe and pump for the largest zone running at once |
| Design margin | 10–20% on flow and pressure | Covers fittings, elevation, and future heads; a system sized to the last drop fails on hot days |
| Pipe velocity | 1–1.5 m/s (3–5 ft/s) | Higher velocities create friction losses that starve the far end of a run |
| Connection | 1/2” or 3/4” threaded, hose barb, quick-couple | Match risers and supply layout; threaded brass is the common greenhouse choice |
Spacing: The 60–80% Overlap Rule
Spacing is where most layouts go wrong, and the error usually points the same direction: heads placed too far apart to save a few sprinklers. Every head throws a circle, but the outer edge of that circle gets a thin, uneven application. Uniform coverage comes from overlap, with each head filling in the thin edges of its neighbor.
The standard rule: space heads at 60–80% of the wetting diameter measured at working pressure. A sprinkler with a 16 m wetting diameter, for example, gives roughly 10–13 m between heads. Stretch beyond that and uniformity drops faster than most growers expect. A well-laid-out overhead system at this overlap typically reaches a uniformity coefficient (CU) of 75–85% under real greenhouse conditions, which is adequate for most nursery and vegetable crops when drainage is good.
Two patterns cover most cases. A rectangular grid is simpler to pipe and suits benches and rectangular houses. A triangular pattern, with each row offset by half the spacing, packs more uniformity into the same area and suits wide open ground beds. Along walls, aisles, and glazing, switch to part-circle heads (commonly 90°, 180°, or 270°) so water lands on crop rather than on walkways and the greenhouse frame.
Wind is less of an issue inside a greenhouse than in the field, but drift is not zero. Vent fans and ridge vents pull fine droplets sideways, so keep the shorter end of the spacing range near vents and avoid aiming full-circle heads at open ridge vents. Measure wetting diameter on your actual head at your actual pressure before fixing the grid. Moving a riser one meter is a morning’s work; relaying a full zone is not.
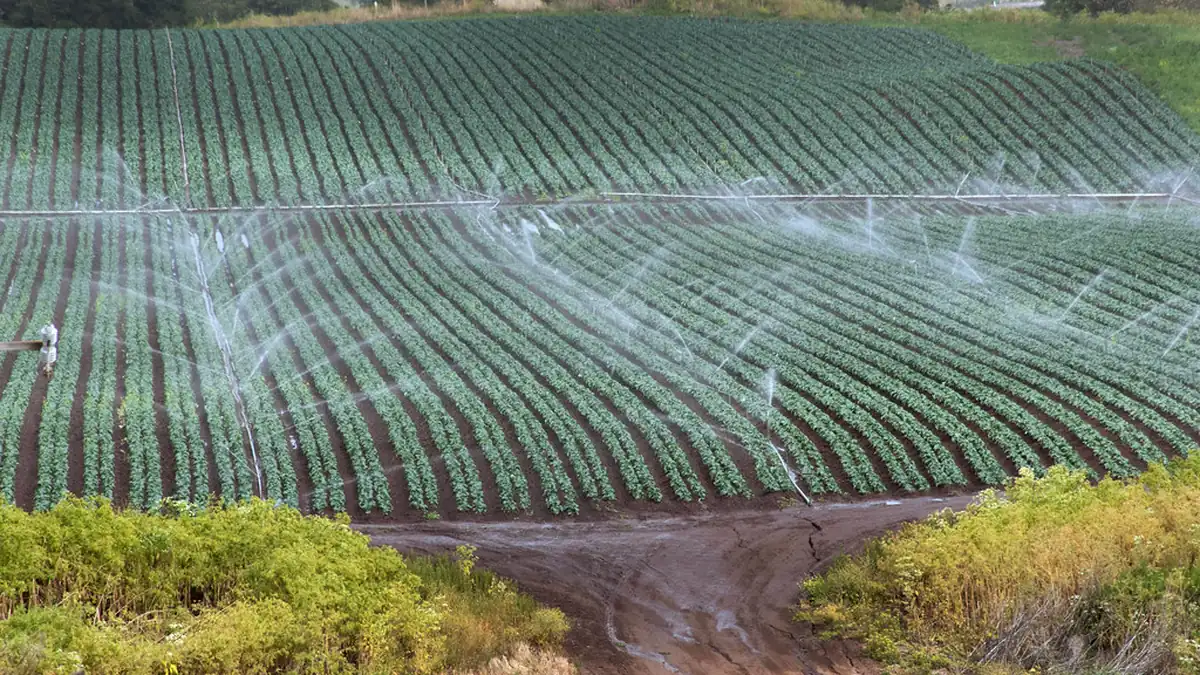
Choosing the System Type: Impact vs. Drip vs. Rotors
Settle the system type before finalizing spacing, because each type carries its own pressure, filtration, and maintenance requirements. In greenhouse and nursery work the practical choice is usually between impact sprinklers and drip, with gear-driven rotors a third option mainly for large open areas.
Impact sprinklers use large orifices and tolerate sediment and recycled water far better than drip, a deciding factor when the water source is an open reservoir. They also wet the foliage, which supports humidity, evaporative cooling, and frost protection, though it becomes a risk if cycles are timed poorly. Drip places water exactly at the root zone and keeps foliage dry, which suits crops with foliar disease pressure, but it demands fine filtration and hundreds of emitters to maintain. Rotors throw a slow, heavy stream over long distances and fit big open blocks, but their gear trains are sensitive to dirty water and they offer little climate benefit.
| Factor | Impact sprinkler | Drip line | Gear-driven rotor |
|---|---|---|---|
| Coverage pattern | Full or part circle; large wetting area per head | Targeted, per-plant or per-row | Long slow stream; large radius |
| Area per emitter | One head covers a large bed (throw typically 12–18 m) | One emitter waters a single pot or row section | One head covers a wide open block |
| Water use | Higher per cycle; some loss to evaporation and runoff | Lower; water placed at the roots | Moderate; less ground-level evaporation than impact |
| Foliage wetting | Wets foliage, useful for climate control, a risk if timed poorly | Keeps foliage dry | Partial; mainly lower foliage |
| Sediment tolerance | High; large orifices handle recycled water | Low; fine emitter paths demand fine filtration | Low to moderate; gear trains and small nozzles are sensitive |
| Climate effect | Raises humidity and provides evaporative cooling | None beyond root-zone moisture | Minimal |
| Maintenance load | Few emitters per area; a blocked head is easy to spot | Hundreds of emitters; one plugged line can dry a bench silently | Fewer heads, but gear drives need cleaning and winterizing care |
| Typical fit | Propagation, ground beds, dense flats, dirty water | Potted rows; crops that must stay dry | Large open blocks, wide spacing |
Rule of thumb: if the crop needs wet leaves for climate reasons, or the water is dirty and the layout is dense, design around impact sprinklers. If every pot needs an exact dose and the crop must stay dry, drip is the safer backbone. Many commercial nurseries run both on separate valves rather than forcing one system to do everything.
Layout: Zones, Risers, and the Mistakes That Show Up Later
The last step turns the numbers into a working layout. Group heads into zones by what they serve: crops with similar water needs, similar sun exposure, and similar height should share a valve. A zone that mixes bench flats and 1.5 m nursery rows either over-waters one or under-waters the other. One solenoid valve per zone plus a timer, or a climate controller that reads temperature and humidity, is the standard automation setup, and a fertilizer injector can deliver foliar feed in the same pass.
Riser height matters more than most layouts admit. A sprinkler buried in a tall crop sprays uselessly against stems and leaves; raise the head so the stream clears the canopy. Bench height and crop stage change the effective throw, so set risers for the tallest stage the crop will reach.
Common layout mistakes to plan around:
- Spacing at full throw instead of 60–80% of wetting diameter, the most common cause of dry rings.
- Full-circle heads against walls and aisles, wasting water on walkways and the frame.
- No pressure regulation. A zone regulator holds every head in its 2.5–5 bar band even when the pump drifts.
- Skipping filtration. Impact sprinklers tolerate dirty water, but a coarse screen (typically 30–60 mesh) protects nozzles from scale and debris; recycled water deserves a settling tank or sand separator.
- No winter plan. Drain or blow out overhead lines before frost in heated houses; a frozen riser becomes a springtime repair.
- Undersized mains. Velocity above 1.5 m/s in the mainline robs the far zone of pressure on every cycle.
Follow those six and the system runs on timers for years with little more than seasonal checks.
FAQ
What water pressure does a sprinkler irrigation system need? Most impact sprinklers operate in the 2.5–5 bar (36–72 psi) range. Below about 2 bar the arm stops rotating reliably and you get a wet ring instead of a covered circle; well above 5 bar droplets get finer, drift increases, and pump energy is wasted. If your supply pressure sits outside this band, a zone pressure regulator is the standard fix.
How far apart should sprinkler heads be spaced? Space heads at 60–80% of the wetting diameter measured at working pressure. A head with a 16 m wetting diameter, for example, gives roughly 10–13 m between heads. The overlap is what produces uniform coverage; stretching spacing to save heads creates dry rings that show up in the crop during peak demand.
How do I calculate the total flow for my sprinkler system? Sum the flow of every head in the largest zone and add a 10–20% margin. That total is what your pipe and pump must deliver. Full-size impact sprinklers draw roughly 0.4–1.2 m³/h per head depending on nozzle and pressure, so a 20-head zone lands at about 8–24 m³/h before margin.
Impact sprinklers or drip: which should I design around? If the crop needs wet foliage for humidity, cooling, or frost protection, or the water is dirty and the layout is dense, impact sprinklers usually earn their place. If the crop must stay dry and every pot needs an exact dose, drip is the safer choice. Many commercial greenhouses run both on separate valves.
Can I size a system from my pump alone? Only partly. The pump sets the ceiling for flow and pressure, but sprinkler choice, spacing, and pipe layout decide what the crop receives. Pick the sprinkler and its working pressure, space heads for overlap, sum zone flows, then check that the pump covers the largest zone with margin. If it falls short, the cheaper fix is usually more heads at lower flow or smaller zones, not a bigger pump.
Should I design the system myself or get a second opinion? A single-zone house can be laid out from the rules in this guide. Once multiple zones, a well pump, or recycled water enter the picture, a sizing review is cheap insurance. Layout errors show up in the crop a season later, not on the drawing.
Send Us Your Layout for a Sizing Proposal
Sizing mistakes are easier to fix on paper than after the crop shows them. Tell us your greenhouse or field dimensions, bench and bed layout, water source, available pressure, and the crops you grow. We will reply with a recommended sprinkler set, spacing plan, and zone and valve schedule, or a quote for a custom OEM batch with your own branding. IRRIGRAIN manufactures impact sprinklers and irrigation accessories factory-direct, so you deal with the people who make the sprinklers rather than a distributor in between.
Email your layout to cj226144@gmail.com. Send the dimensions and water details, and we will get a sizing proposal back to you within two working days.
Frequently Asked Questions
What water pressure does a sprinkler irrigation system need?
Most impact sprinklers operate in the 2.5–5 bar (36–72 psi) range. Below about 2 bar the arm stops rotating reliably and you get a wet ring instead of a covered circle; well above 5 bar droplets get finer, drift increases, and pump energy is wasted. If your supply pressure sits outside this band, a zone pressure regulator is the standard fix.
How far apart should sprinkler heads be spaced?
Space heads at 60–80% of the wetting diameter measured at working pressure. A head with a 16 m wetting diameter, for example, gives roughly 10–13 m between heads. The overlap is what produces uniform coverage; stretching spacing to save heads creates dry rings that show up in the crop during peak demand.
How do I calculate the total flow for my sprinkler system?
Sum the flow of every head in the largest zone and add a 10–20% margin. That total is what your pipe and pump must deliver. Full-size impact sprinklers draw roughly 0.4–1.2 m³/h per head depending on nozzle and pressure, so a 20-head zone lands at about 8–24 m³/h before margin.
Impact sprinklers or drip: which should I design around?
If the crop needs wet foliage for humidity, cooling, or frost protection, or the water is dirty and the layout is dense, impact sprinklers usually earn their place. If the crop must stay dry and every pot needs an exact dose, drip is the safer choice. Many commercial greenhouses run both on separate valves.
Can I size a system from my pump alone?
Only partly. The pump sets the ceiling for flow and pressure, but sprinkler choice, spacing, and pipe layout decide what the crop receives. Pick the sprinkler and its working pressure, space heads for overlap, sum zone flows, then check that the pump covers the largest zone with margin. If it falls short, the cheaper fix is usually more heads at lower flow or smaller zones, not a bigger pump.
Should I design the system myself or get a second opinion?
A single-zone house can be laid out from the rules in this guide. Once multiple zones, a well pump, or recycled water enter the picture, a sizing review is cheap insurance. Layout errors show up in the crop a season later, not on the drawing.